Make a "bird nest" with a beach towel- rolling it length wise into a longgggg worm, and then curling it around in an oval shape. Make it just the size that baby's tush rests at the bottom, his legs bent over the roll, and head resting on the top roll.
Using a large play ball or small exercise ball, place baby on the ball on his belly, and roll him slowly up.. so his feet come completely off the floor and he's at the top of the ball, and then slowly back down to touch feet to the floor. Repeat several times for a few minutes.
Roll a receiving blanket so it is fairly thin- placing on floor to support baby's upper body. Lay baby on the floor on tummy so the blanket goes under his armpits. Make sure baby's elbows are still able to be flat on the floor and not raised due to the blanket being too thick.
Sitting up
Sit baby on an unopened package of diapers, or anything firm and about 4" or so high- making sure baby's legs are bent at a 90 degree angle with feet flat on the floor. I usually had Evan sit in front of his baby gym with toys dangling down in front of him to play with and keep his attention.
Sitting with your legs straddled, sit baby up in front of you and cross his legs in front of him while he plays. Crossing his legs will encourage him to sit up instead of pushing back.
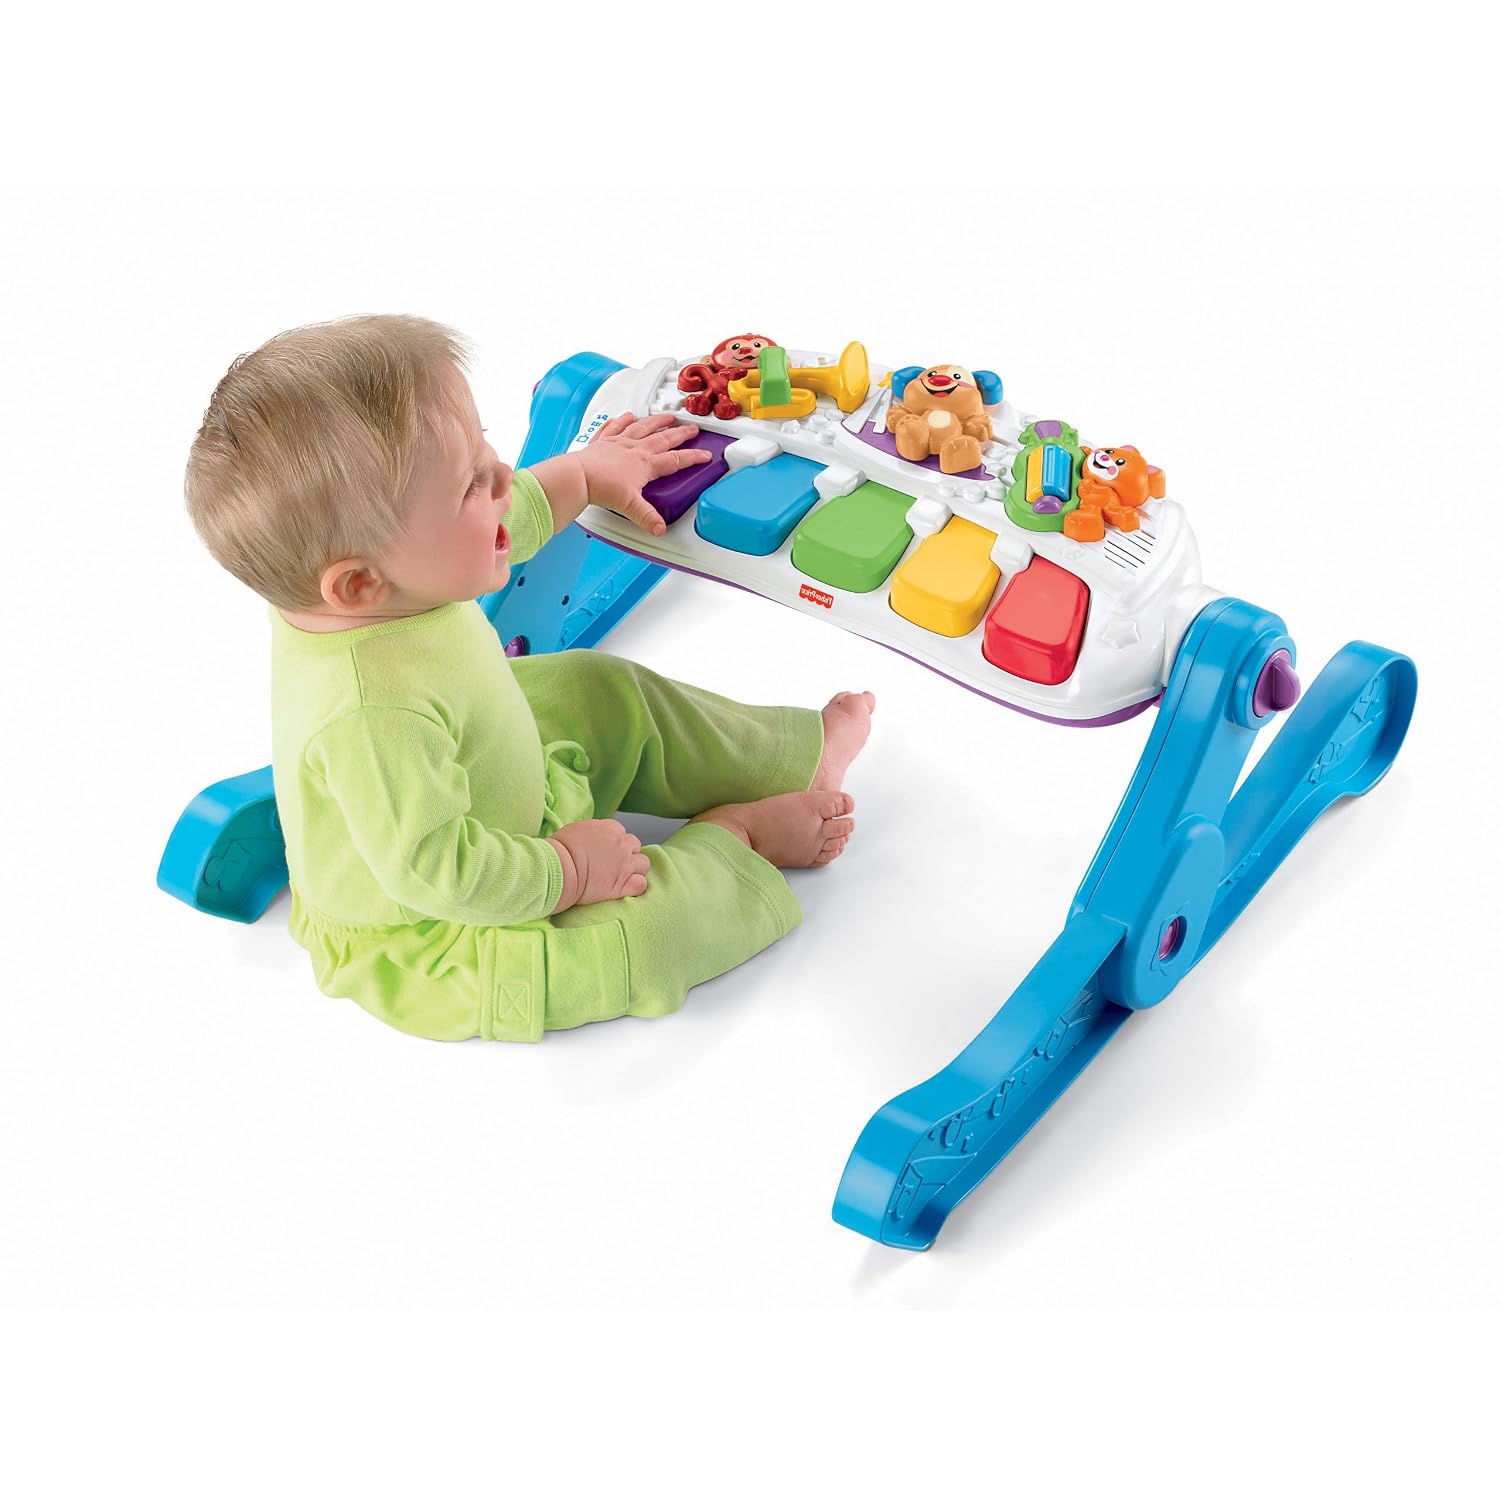
The Fisher-Price Learn and Move Music Station is a great toy to encourage sitting (I will be writing a review on this toy since it is great for both sitting and standing).
Our PT let us borrow a corner chair with an accompanying table to place in front with toys. Evan sat in this chair for short periods of time, a few times a day while I needed to step away for a moment, or to let his tummy settle after eating.
Feeding Therapy: Introducing texture and working on chewing
Using Hubba Bubba, Bubbilicious, Bubble Yum, or any of those types of bubble gum, cut the square in half and hold it under running water for a few seconds and manipulate it with your hands to soften it up a little. Place the gum inside a 4x4 piece of gauze. Use dental floss to tie it around the gum- resembling a "ghost". You can also use a few raisins or gummies instead, but Evan liked the bubble gum best. Place the ghost inside the corner of his mouth where his first molars would be, and let him chew on it. After a few chews, move it to the other side and keep going back and forth. Evan also did well if I modeled the chewing motion- he'd watch me chew and would chew along.
Using a red chewy tube (the different colors are for different levels of resistance), put some puree inside the end and press up at the top molars to let him chew and get the food out. Our therapist provided the chewy tube for us.
Therapist also provided this Jiggler - we had the alligator. It vibrates and Evan also loved this- we'd place an arm/hand of the alligator inside his mouth and move it around slowly to each side from molar to molar. The vibration "wakes up" his mouth and increases muscle tone temporarily.
Place a puff or Cheerio inside his mouth at the bottom molar- pressing down a little before releasing, and let him chew.
Cut a graham cracker brick into a french fry sized shape- about 1 cm wide, and press at top molar to let him chew, making sure to grasp it so he is only getting a small bit of it at a time so when it breaks off he won't choke on it. I've also used Veggie Straws since they are already in the right shape (I sometimes fought trying to cut those graham crackers without breaking them! But learned to score it with a knife and gently tap it until it goes through).
She recommended doing one of these activities for about 5 mins before each meal. Honestly, my goal was to do one a day since it's so busy around here.
Play baroque music or anything with a faster paced, steady beat (we're currently listening to Madonna- Like a Prayer ;) and Lady Gaga- Beautiful Dirty Rich works too for a couple examples) so baby is encouraged to chew along to the beat.
Play baroque music or anything with a faster paced, steady beat (we're currently listening to Madonna- Like a Prayer ;) and Lady Gaga- Beautiful Dirty Rich works too for a couple examples) so baby is encouraged to chew along to the beat.
She also recommended moving from the smooth purees to ground foods- this is the food grinder I bought:
It gives a little texture but not too much, for a slower transition. We started with yellow and orange veggies (squash, steamed or canned carrots, sweet potato) as well as canned peaches, canned pears, banana, and avocado. After these went well, we added canned green beans, canned spinach, steamed broccoli, and steamed asparagus. Stay away from corn and peas due to their outer shell, as well as most beans. Ground meats are a little more difficult since it is drier, so you may want to hold off until the green veggies are going well. For the cooked veggies as well as the avocado- I would grind a bunch up and freeze it in ice cube trays, then transfer to gallon freezer bags. I used 2 cubes for each serving. We also did small curd cottage cheese with ground pineapple.
After those are going well, you can grind up the meats- I mixed in some pureed meat or some gravy to moisten it up since Evan didn't like them dry. I also introduced Barilla Pastina - it is teeny tiny star pasta. To add more texture to foods that don't have much texture, our therapist recommended sprinkling crushed up cheerios on top of each spoonful, breaking pieces a little bigger as he handles them well; thickening foods with wheat germ (I do this with his yogurt); and sprinkling rice krispies on top.
Homemade Lip Block
A lip block is a helpful tool to use while introducing/using the straw cup. It ensures the child doesn't insert too much of the straw into their mouth while drinking. As most therapy tools tend to be on the pricey side, store bought lip blocks can add up too when you're buying them for each cup. Here is an example of some store bought lip blocks. Another style is a simple flat disk with a hole in the center as seen here and often combined with the honey bear cup, which is a popular first cup to teach little ones how to drink from a straw. I personally found that the lip blocks on the Talk Tools site have an extremely small hole and found it quite difficult to wedge it onto the straw for the honey bear. I managed though, and it worked well.
Evan has now moved on to the Munchkin straw cup (which I purchased at Walmart)- of the several different cups I had purchased to try, this was his favorite. His OT brought one of the hard plastic lip blocks from Beyond Play (first link) and all he wanted to do with it was chew on it, since it was hard. I debated about purchasing some of the flexible lip blocks from the same site when she suggested using craft foam. What a novel idea! I had plenty in the house already so figured it was definitely worth a shot. The kind of foam sheets I have here have an adhesive back to them, so I cut two circles and stuck them back to back. I used a hole punch for the center and it fit perfectly onto his Munchkin cup! Used it at lunch and he did a great job. This will help him be more independent in holding his own cup without me having to hold my fingers on the straw to keep him from inserting it too far into his mouth.
Fine Motor
Place a Cheerio or other small finger food (Gerber mini fruits work well also) in each cup of a mini muffin pan. Baby must use a pincer grasp to reach in and grab the food.
Play tug-of-war with baby- let him/her grab onto a blanket or koosh ball and give resistance. Baby must use strength in fingers to hold tight and pull.
Homemade Lip Block
A lip block is a helpful tool to use while introducing/using the straw cup. It ensures the child doesn't insert too much of the straw into their mouth while drinking. As most therapy tools tend to be on the pricey side, store bought lip blocks can add up too when you're buying them for each cup. Here is an example of some store bought lip blocks. Another style is a simple flat disk with a hole in the center as seen here and often combined with the honey bear cup, which is a popular first cup to teach little ones how to drink from a straw. I personally found that the lip blocks on the Talk Tools site have an extremely small hole and found it quite difficult to wedge it onto the straw for the honey bear. I managed though, and it worked well.
Evan has now moved on to the Munchkin straw cup (which I purchased at Walmart)- of the several different cups I had purchased to try, this was his favorite. His OT brought one of the hard plastic lip blocks from Beyond Play (first link) and all he wanted to do with it was chew on it, since it was hard. I debated about purchasing some of the flexible lip blocks from the same site when she suggested using craft foam. What a novel idea! I had plenty in the house already so figured it was definitely worth a shot. The kind of foam sheets I have here have an adhesive back to them, so I cut two circles and stuck them back to back. I used a hole punch for the center and it fit perfectly onto his Munchkin cup! Used it at lunch and he did a great job. This will help him be more independent in holding his own cup without me having to hold my fingers on the straw to keep him from inserting it too far into his mouth.
Fine Motor
Place a Cheerio or other small finger food (Gerber mini fruits work well also) in each cup of a mini muffin pan. Baby must use a pincer grasp to reach in and grab the food.
Play tug-of-war with baby- let him/her grab onto a blanket or koosh ball and give resistance. Baby must use strength in fingers to hold tight and pull.